The winter visitor I’m going to write about today is the fieldfare.
I first spotted a group of fieldfares towards the end of last year. I heard them before I saw them. It was a very odd noise and I wondered what on earth I was listening to. The British Trust for Ornithology describes the sound as a ‘harsh, aggressive sounding “chack chack”’. I remember it was a very muddy walk through the meadow and every time I tried to get a bit closer to the birds they just flew off into the next tree. I thought they moved a bit like blackbirds but they definitely didn’t look like blackbirds.
Perplexed and unable to get any closer to the birds, I carried on with my short stroll. I passed a couple walking the other way shortly afterwards and, after saying hello, I overheard one of them say ‘well, I think we saw something interesting there’. I was tempted to stop them and ask whether they were talking about the mysterious birds but I didn’t think that was a good idea (for a number of reasons!)
When I got home, I had a look in the bird book and wondered if the birds I’d seen were fieldfares. After going for a few other walks after this, I’m pretty confident that these are the interesting birds I keep seeing.
Fieldfares visit us over winter from Northern Europe and Scandinavia. Apparently a very small number breed here but it’s rare. They’re normally here from October until March. Like the blackbird, the fieldfare is a member of the thrush family which might explain why I thought they behaved in a similar way. Do I get any points for that?!
Fieldfares have definitely brightened up my winter this year so I’ve decided to paint my own. Let me take you through the steps…
Step 1

First, I drew an outline of the fieldfare in H pencil. This was quite a basic sketch but I added in some of the shapes from the plumage so that I had a guide when I started painting.
Step 2

I then added some water to individual sections of the picture and dropped a range of colours into the water. I used my cotman watercolour sketchers’ pocket pans again and picked out some of my favourite colours: yellow ochre, burnt umber and prussian blue. I particularly enjoy mixing burnt umber and prussian blue together – it creates a greeny colour that sometimes goes a bit more blue and sometimes goes a bit more brown. It’s a lovely colour.
Step 3

I continued doing this until I had a base layer of colour across the whole bird and the grass. I also added a bit more detail to the head as the paint started to dry.
Step 4

The head – and, in particular, the eye – is always critical in a painting. Rather than focus on other things when adding more detail, I always go to this first. I mixed a range of colours together to create something almost as dark as black and then carefully dried my brush a bit and painted on the detail. I don’t have black paint in this watercolour set and I think it’s quite good to practice to mix colours together rather than rely on pure black when painting.
Step 5

The colourful plumage on the front of the fieldfare is very striking so I moved here next. I mixed burnt umber and yellow ochre together and worked my way down the bird’s chest, following its interesting pattern of feathers. When it had dried a little bit, I added a few splashes of the burnt umber and prussian blue mixture over the top to finish it off.
Step 6

I used a similar technique for the wing, tail, legs and grass, adding darker colours as I focused on the detail.
The finished product
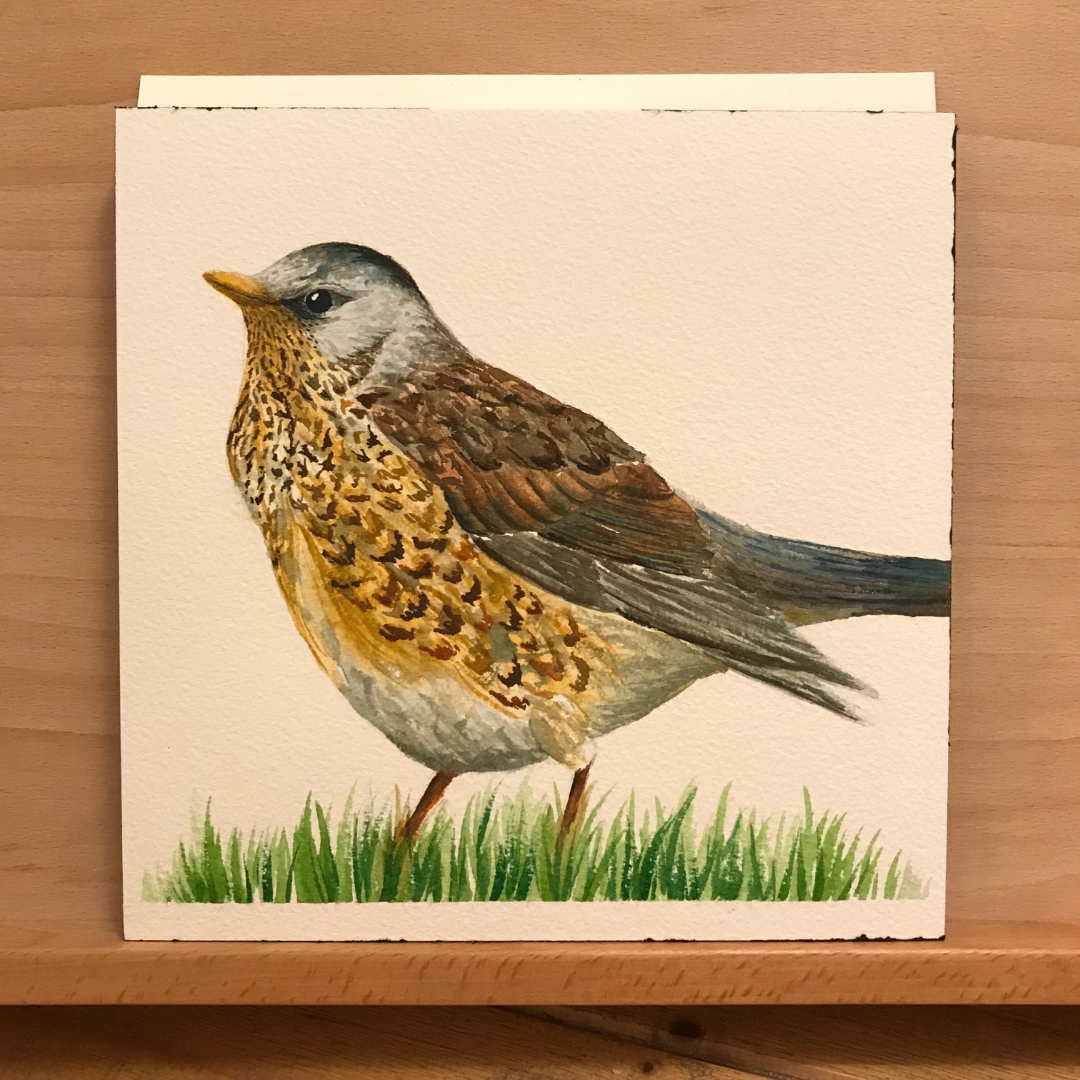

When I finished, I took a moment to look at what I’d done. I was so over the moon with my fieldfare! It’s taken me quite a long time to get used to watercolours and I feel like I’m finally starting to crack them!
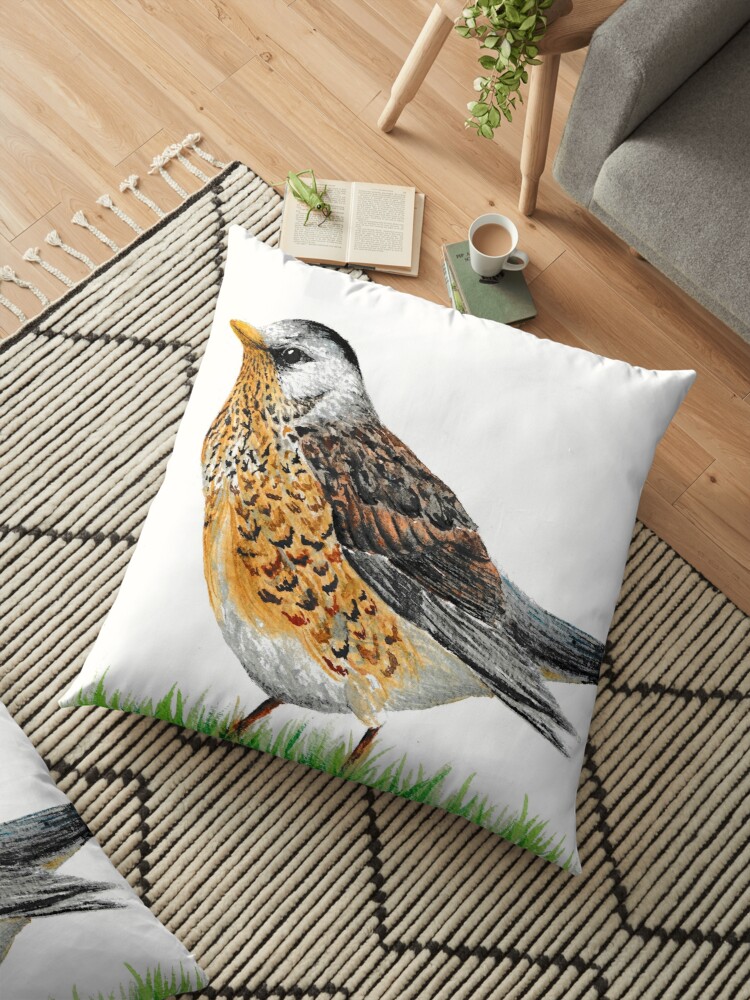
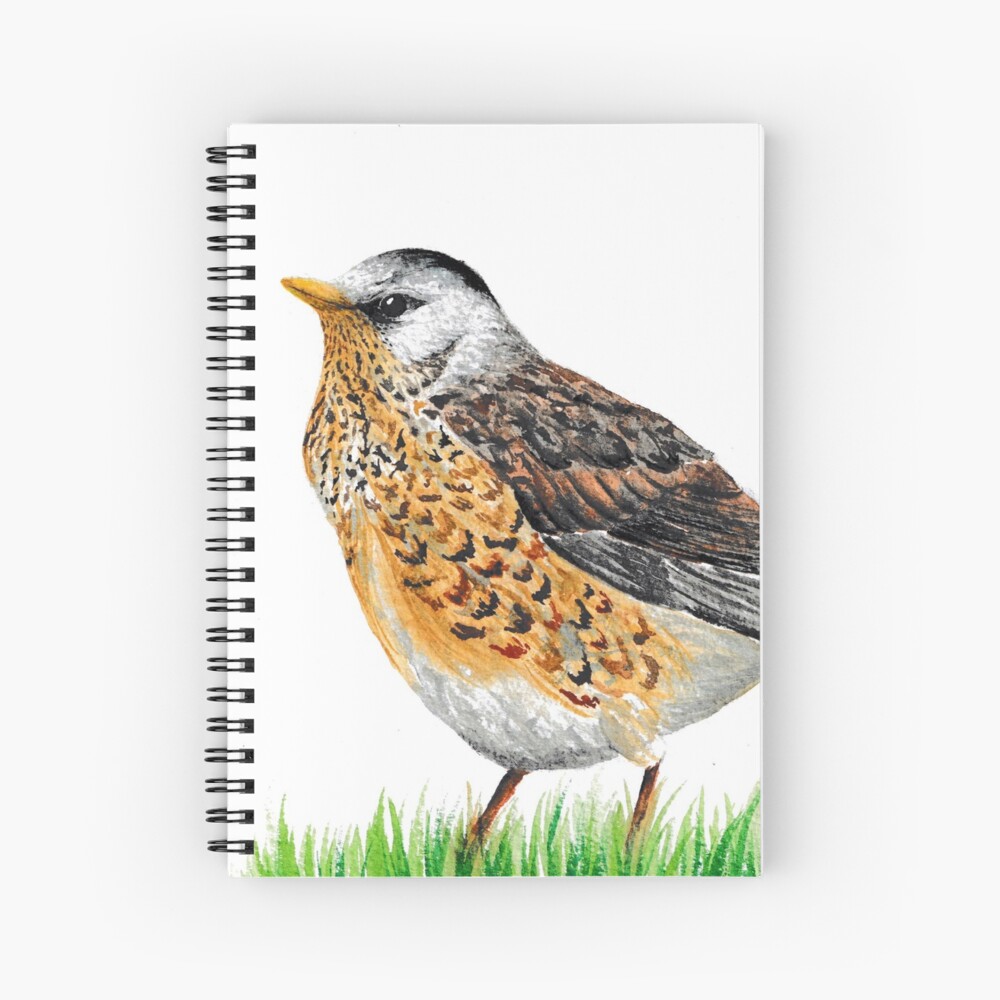
The pretty fieldfare is the newest addition to my Beautiful Birds collection on Redbubble. If you’re interested, you can check her out here. Thanks for reading!